To provide you with the best experience, we use cookies to personalise content, bring you relevant ads and analyse data. For further info, see our privacy policy.
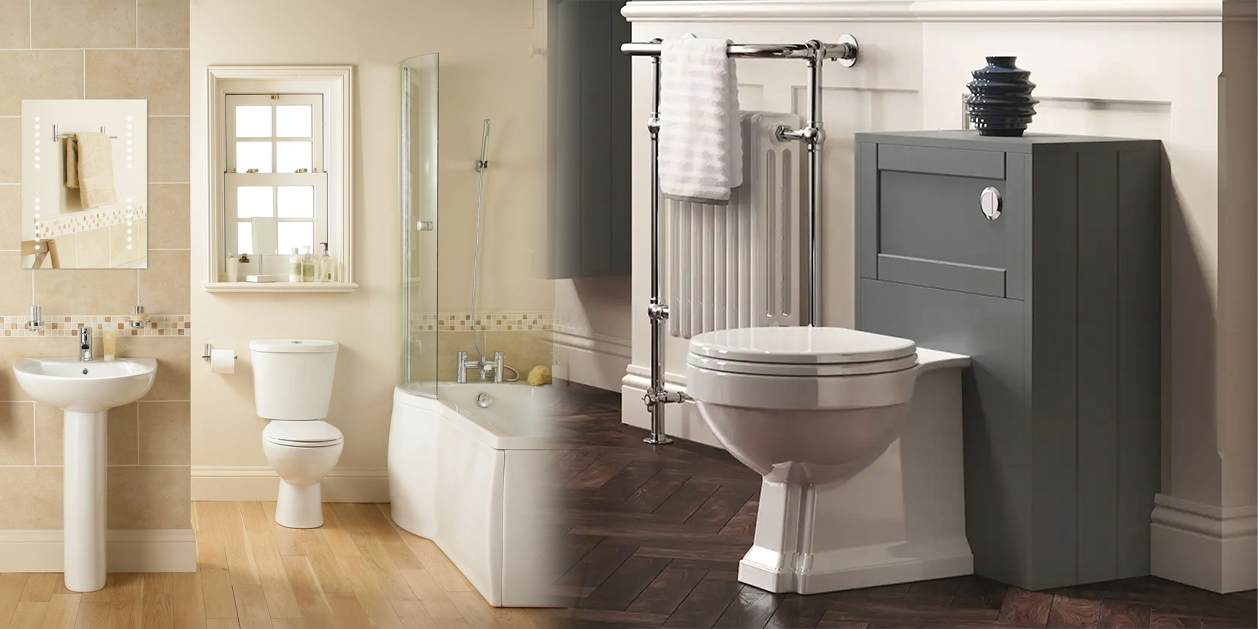
How to Fit a Bath – A Guide to Installing a Bathtub
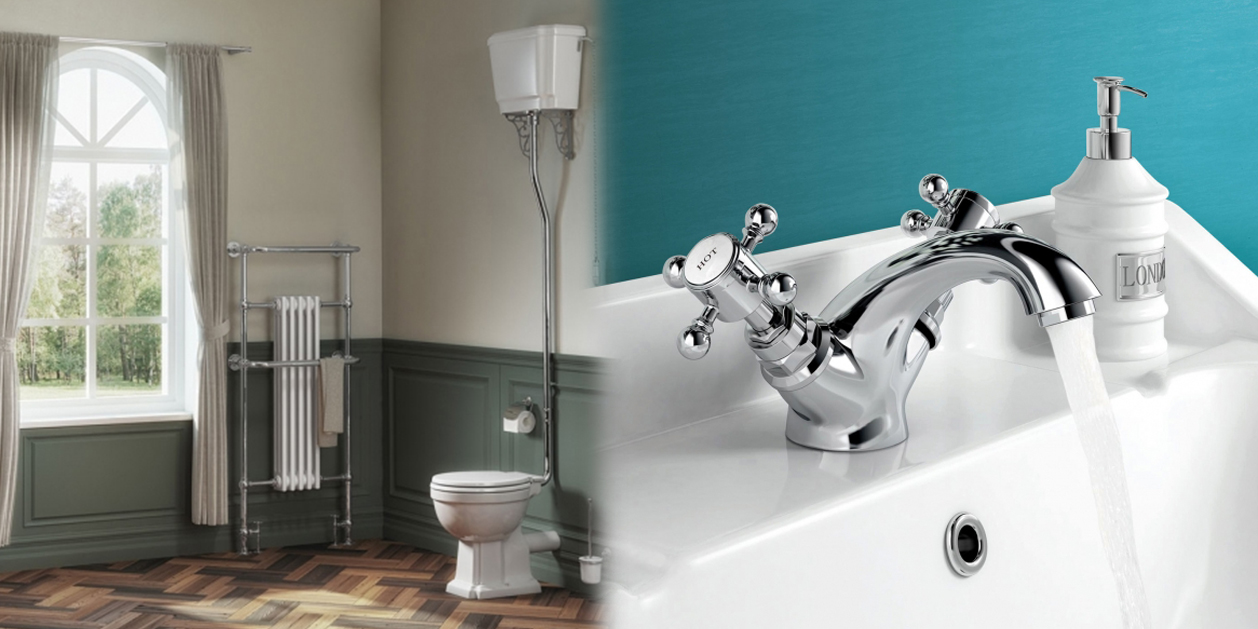
How to Fit a Bath – A Guide to Installing a Bathtub - Installation
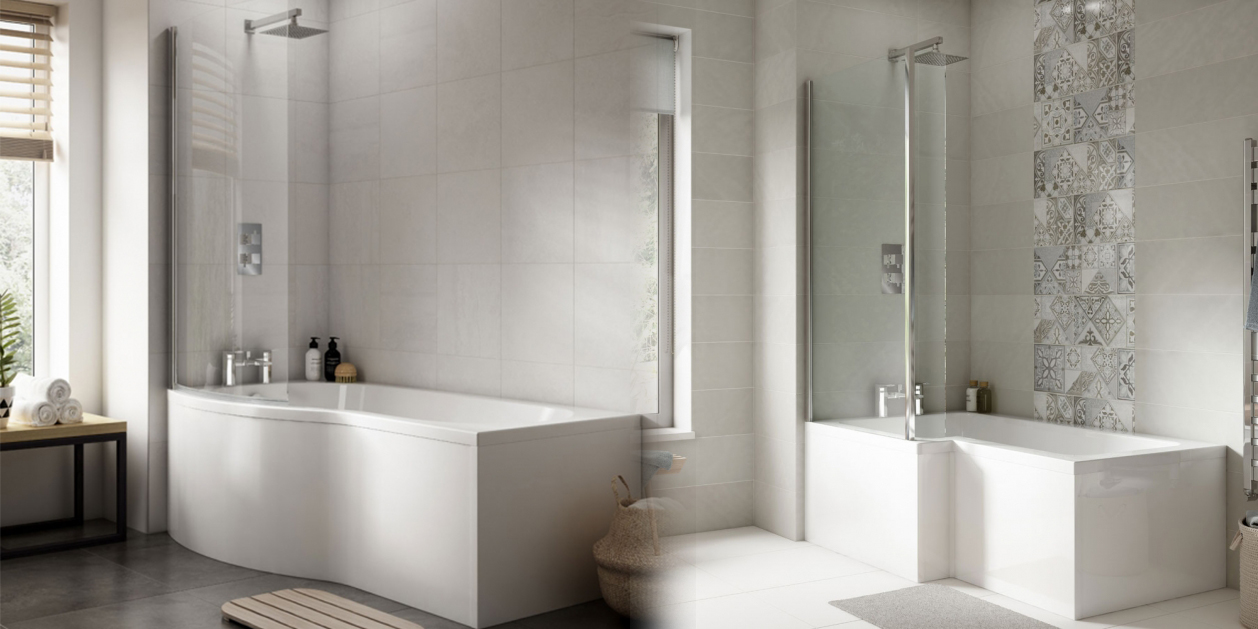
Welcome back DIY enthusiasts! Are you looking to replace your old bathtub, or furbish a new bathroom from scratch? Then you have come to the right place! The Bathshop321 Handyman is here once again to solve your bathroom problems, using his trusty tool belt and almost limitless know-how, he’s going to give you a comprehensive rundown of how to install a bathtub like a seasoned pro!
Welcome back DIY enthusiasts! Are you looking to replace your old bathtub, or furbish a new bathroom from scratch? Then you have come to the right place! The Bathshop321 Handyman is here once again to solve your bathroom problems, using his trusty tool belt and almost limitless know-how, he’s going to give you a comprehensive rundown of how to install a bathtub like a seasoned pro!
Installing a bath yourself can save you a lot of money in tradesmen expenses, but it’s important to have a set plan during the installation to make sure you end up with a finished job that looks professionally done. This guide is broken down into five main steps, which should be followed in order.
So, let’s pull on our safety gloves and sling on our overalls, and get to work under the watchful eye of the Bathshop321 Handyman!
Step 1 – How to Fit Bath Legs and Handles
Once you have your brand new bath unpacked and admired, it’s time to set about fixing the legs to the underside of the tub. Most of our baths come with the legs wrapped in their own packaging, separate from the baths, but in some cases the legs can be tucked up in the underside of the bath, below where the handles are fitted. If this is the case follow the next steps exactly, if the legs are not attached, simply ignore the steps that do not apply.
What You’ll Need
- Bathtub
- Bath Legs
- Screws
- Drill
- Dustsheet or towel
- Screwdriver
- Tape measure

1 – Unpack your new bath, leaving the protective film on for now.

2 – Turn the bath over, exposing its underside; lay down a bathmat to prevent scratching.

3 – Unscrew the legs from the edges of the bath and keep the screws in a secure place.

4 – Place legs into position and screw into place, reusing the screws you removed earlier.

5 – Measure a centre point between the other two legs, and screw in the centre-foot bracket.

6 – Screw in bath feet and secure by screwing on the nuts, finger tight.

7 – Turn the bath back over and secure the handles bypassing the screw ended fittings through each hole and securing underneath using the nuts provided.
Step 2 – How to Level a Bath
Making sure your bath is level is vital before carrying on with your installation; not only does it make for a professional looking finished job, but all of the pipes and plumbing which will lead to your bath need to fit to a strait unit.
What You’ll Need
- Spirit Level
- Tape Measure
- Bath Legs
- Spanner

1 – Using you unit-specific instruction book, find out how high your bath needs to be, and take your measurements from a finished floor if possible. If you cannot take from a finished floor, compensate for this in your measurements.

2 – Adjust all bath legs/feet according to your new measurements, ensuring you remeasure and check after adjusting to be sure.

3 – Adjust the middle leg and attach brackets to the bath.

4 – Get the bath into position and check with spirit level both widthways and lengthways.

5 – Tighten nuts so the bath remains level.
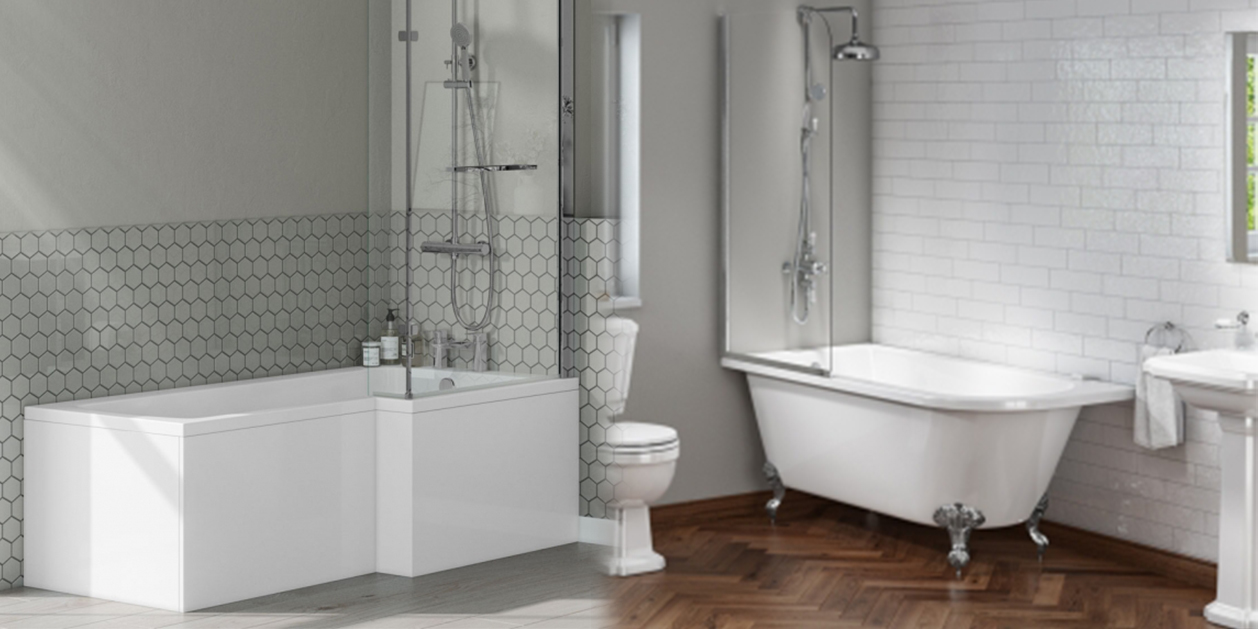
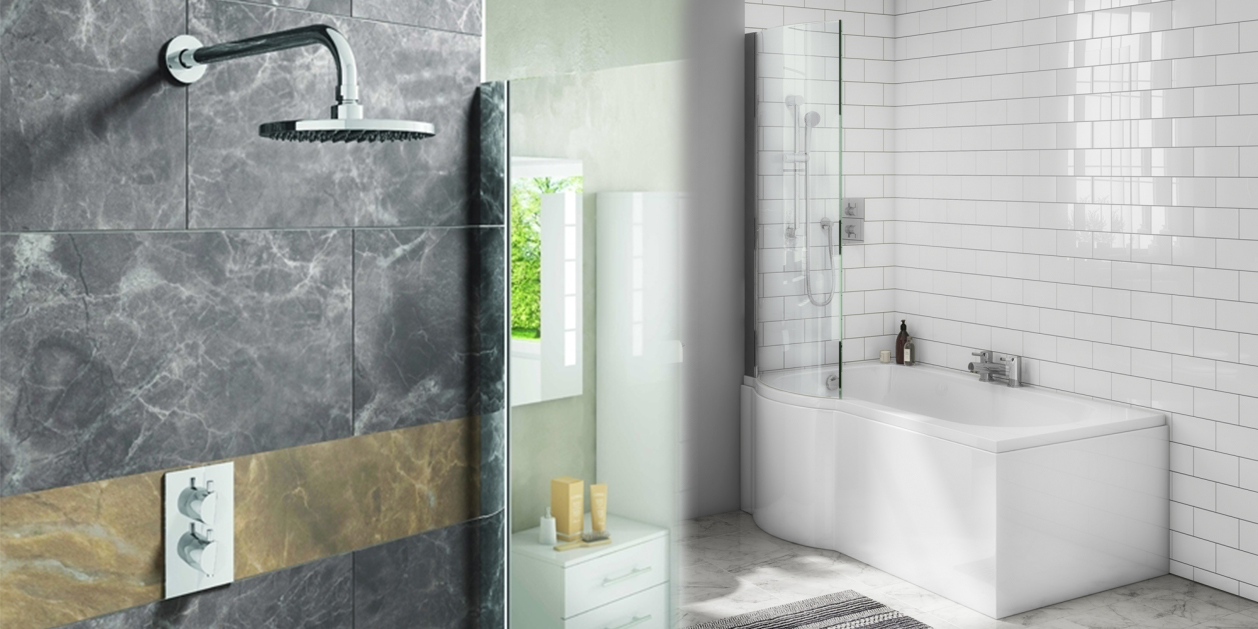
Step 3 – How to Fit Bath Taps
This step requires a lot of care; if you cut in the wrong place there’s a good chance you’ll ruin your bath. Take your time when measuring and marking, and don’t be afraid to double check as much as you need to.
What You’ll Need
- Masking Tape
- Pencil
- Tape Measure
- Set Square
- Cutter

1 – Apply thick masking tape along the top area of the bath to allow you to draw on pencil lines to guide you. Use a tape measure & set square to draw a line in the middle of the side of the bath where you’ll be placing your taps.

2 – Measure the distance between each tap. Because of the slack on a tape measure, start measuring from the 10mm mark. Mark your distances away from your centre line. Use the set square again. You should now have three lines. Be sure to keep checking as you may ruin your bath if you drill in the wrong area.

3 – Figure out how far forward or back your taps will need to go. Find and mark your tap position. Draw a line through these points. Use a cutter that is ever so slightly bigger than your tap pipes.

4 – Now cut according to your measurements. Install your taps, tighten underneath.
Step 4 – How to Plumb a Bath
Plumbing your bath is probably the most tricky part of this installation. Here we’ll be adding all the little fittings that come along with your bath, as well as connecting your bath taps and plugging to all appropriate pipes. In this example we will be using a pop-up waste, but yours may be different. Check which kind of plug you have and refer to installation guide for extra help.
What You’ll Need
- Silicon Sealant
- Adjustable Spanners
- Pop-up Plug
- Overflow
- Linking Pip
- Bath-Trap U-Bend
- Waste Pipe
- Washers
- Isolating Valve
- Tap Connector

1 – Apply silicon sealant behind and in front of the bath’s overflow; this will prevent any leaks. Apply sealant to both sides to ensure a tight seal. Also use silicon sealant on both sides of the plug and underneath the plug components.

2 – Hold the top component down as you tighten the nut underneath. Once you have your overflow and plug in position, connect the two with a linking pipe. Fit a bath-trap U-bend underneath by screwing it in.

3 – Attach a waste pipe to the U-bend, making sure you assemble in the correct order, paying attention to the washers.

4 – Install an isolating valve between the water supply and the tap. Use a tap connector, which will allow you to join a pipe onto the tap. Tighten with two adjustable spanners.
Step 5 – How to Seal a Bath
Almost finished! All that’s left to do now is seal the bath to for a water-tight and professional looking finish.
What You’ll Need
- Brackets
- Drill
- Silicon Sealant
- Screws

1 – Fill the bath with water; this will move the bath to it’s ‘heaviest position’, allowing you to fit the brackets where the bath needs them most.

2 – Attach the brackets to the wall using the drill and screws

3 – Secure all of the bath feet to the floor

4 – Apply silicon sealant around the edge of the bath, starting from a corner and moving away. Wet your finger and smooth the sealant over.
So there we have a fully installed bath; from unwrapping to finishing off that last bit of sealant! Remember to always refer to the manufacturer’s instructions when installing, and conduct all your bathroom DIY and renovation projects in a safe, careful way. If you don’t feel too confident about some of the more tricky steps of this guide, get extra help from a professional; it’s better to spend a few extra pounds than to ruin your sleek new bathtub!
Check back again soon for more helpful installation guides, DIY How-To’s and renovation master classes!
Powered by Mirasvit Magento 2 Extensions
Recent Posts
-
 Shower Bath Setups: Tips for Optimising Your Morning Routine
-
 Space-Saving Benefits of a Shower Bath in Urban Homes
-
 Beyond Basics: Advanced Features in Modern Shower Baths
-
 What Are The Main Benefits Of Choosing A P Shape Bath
-
 Celebrating Classic Features: The Timeless Appeal of Traditional Bathroom Suites