To provide you with the best experience, we use cookies to personalise content, bring you relevant ads and analyse data. For further info, see our privacy policy.
Planning And Installing Your New Bathroom Suite
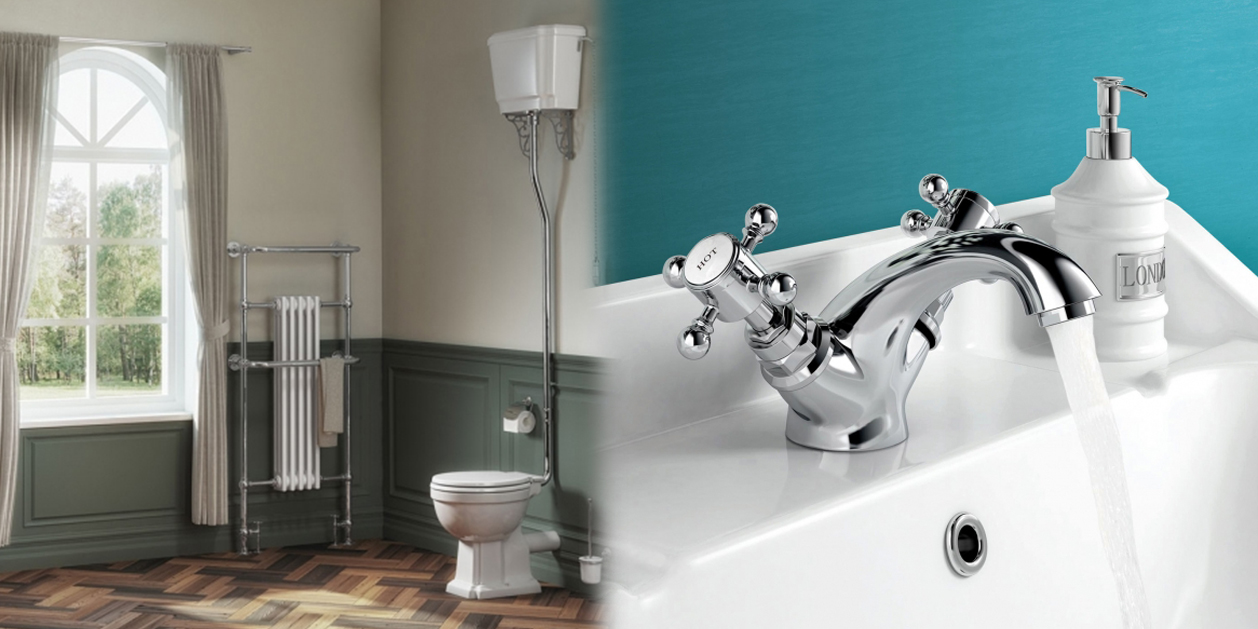
Planning And Installing Your New Bathroom Suite - Installation
Has your bathroom seen better days? Does it perhaps have chipped and stained finishes, exposed pipes, and a noisy old cistern – or is just a bit dated, with 1970s tiles or a sludge green suite? If so, you’ve probably wondered about doing it up or even replacing it entirely. You might also have thought about fitting an extra sink or loo somewhere else in the house, especially if you have a growing family. But if you have, you’ve probably also worried about the cost and decided it’s just not practical – or will at least have to wait till you’ve got some savings to spare.
Has your bathroom seen better days? Does it perhaps have chipped and stained finishes, exposed pipes, and a noisy old cistern – or is just a bit dated, with 1970s tiles or a sludge green suite? If so, you’ve probably wondered about doing it up or even replacing it entirely. You might also have thought about fitting an extra sink or loo somewhere else in the house, especially if you have a growing family. But if you have, you’ve probably also worried about the cost and decided it’s just not practical – or will at least have to wait till you’ve got some savings to spare.
Truth is, updating, replacing or even adding a bathroom is really not that pricey at all. Decent modern bathroom suites start at less than a couple of hundred quid as you can see from our range, and the plumbing involved is pretty basic stuff – especially with today’s fittings and tools. This is a job that you genuinely don’t need specialist skills or experience for, but is something most people can handle for themselves with basic tools and a bit of research. Buying a suite is easy: you can order a high quality basic all-in-one from bathshop321 for as little as £169, or spend a bit more, or just personalize a basic suite with your choice of bathroom taps and other accessories.
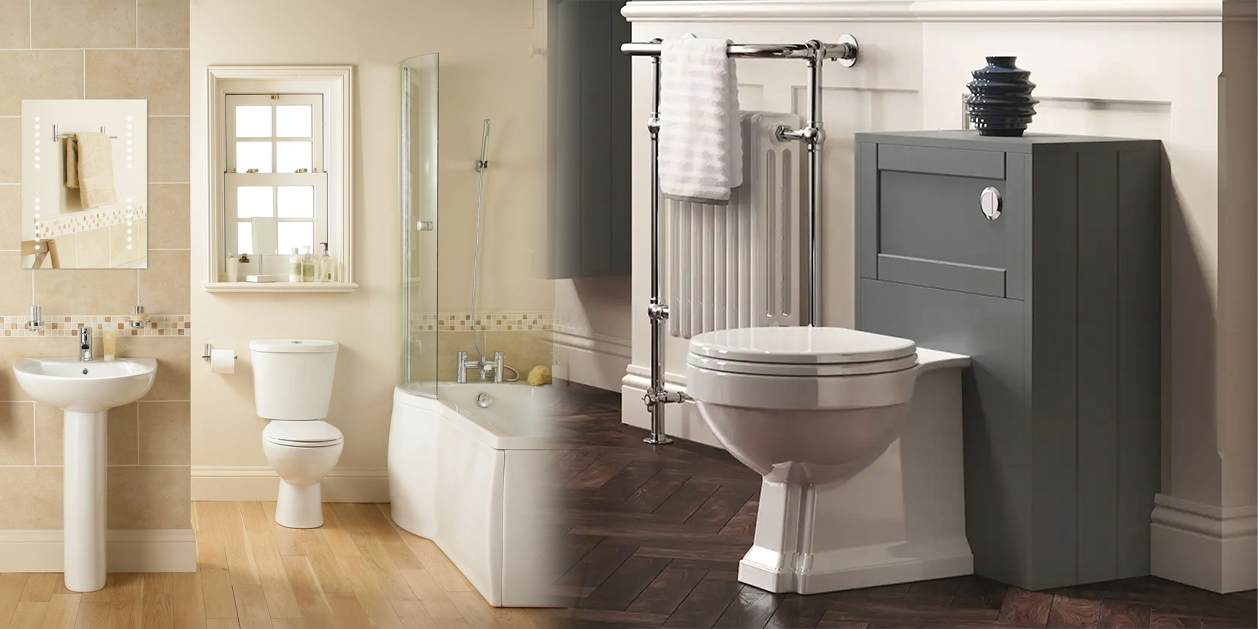
There’s quite a bit of choice even at the budget end of the market, and you can see that we at bathshop321 not only have some amazing prices on really attractive suites, but also on a whole range of bathroom furniture and accessories – not to mention our “Price Beater” promise! Since you can also ask us for advice, and chat on the bathshop321 blogs about bathroom design and other topics, plenty free advice and guidance is available – which can be really handy, especially in pointing out any potential problems or costs you might have missed before you start, as well as once your installation project is underway! It might help if you’re already a keen DIYer with some experience and some basic tools. But to be honest, unless you’re planning major layout changes to your bathroom, this is a job you can do with no prior experience at all, as what you’ll need is easy to buy, and you can get advice from bathshop321’s online blogs and staff if you’re unsure of anything or want further guidance before you start. Remember there are other webpages and leaflets that can help you out with different aspects of designing and decorating your bathroom, too – including other pages on this site! Thinking about fittings Obviously enough, first you need to check out what’s available by way of bathroom suites and fittings – and this is easy enough; just have a browse through our site! There’s a huge range of suites available nowadays – from very basic white suites to all sorts of elaborate designs and colours, as well as a variety of fittings to mix and match. The choice is yours! Restricted only by your imagination (okay, and your budget!), you’ll see a huge range of styles from traditional to modern, and it can be quite tricky to decide on what you want.
A good tip is to stay basic, keeping your bathroom affordable and timeless – especially as you can always jazz it up a bit with elements such as tiles and fitted cabinets, or with fittings like taps which can be replaced quite easily if you sell your house or just fancy a change! When you’re looking, have a clear idea what size suite you need. It’s no good setting your heart on a specific suite only to find it just won’t work in the space you have in your bathroom! Dimensions for most items are available online, of course, as part of bathshop321’s item descriptions.
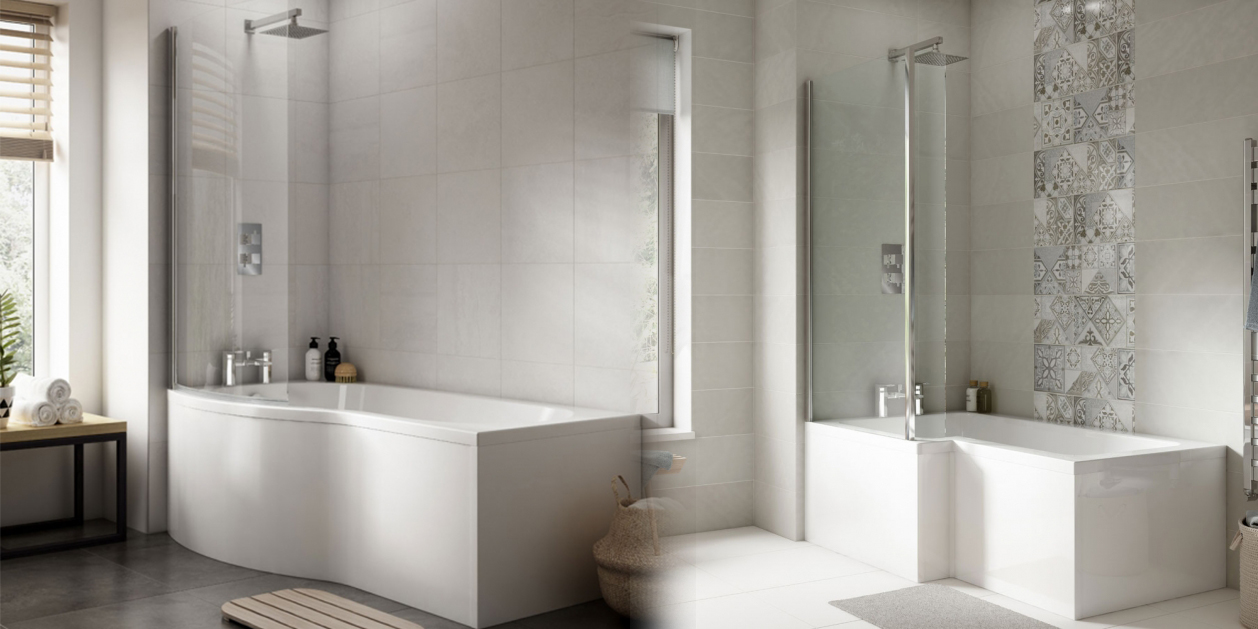
A great many baths nowadays are made from acrylic – and these have quite a few advantages over the more traditional steel and cast iron baths. Acrylic baths, for instance, are far lighter than metal baths, making them much easier to fit and remove. They also don’t chip like enameled metal baths do, and are far easier to repair if they are damaged, as scratches can be effectively buffed with just a little liquid metal polish. More importantly, small chips or scratches are barely even noticeable, as the acrylic is coloured all the way through! Another benefit is that acrylic baths get their strength from reinforced bases made from chipboard and fibreglass – strong, flexible materials well suited to bathrooms. And, as an added bonus, acrylic baths are warmer to the touch than metal baths! Designing your bathroom Once you’ve got a basic idea of what you’d like – or have decided which particular suite you’re after – you have to set your mind to deciding how it’s going to fit into the space you have available. It’s never advisable to make huge changes, as moving something like the toilet means moving the soil pipe, too, and that’s no mean feat, probably best left to an expert! But in general, you don’t have to stick precisely to your bathroom’s original layout, so do experiment a little if there’s space for changes. (Of course you might have a separate toilet, too, which gives you a lot more freedom.) When you’re thinking through where you’d like everything to go, though, do have a look at Sketch 1 and make sure you have the recommended “standing room” required around each bit of your bathroom suite. This term refers to the space you need for using a toilet and basin, as well as for drying after a bath or shower.
It gives a good basic guideline for how much clear area you need in the bathroom to make it easy to use on a daily basis, without feeling cramped. Sketch 1 illustrates the sort of space you need. It will really help you to sketch out your own floor plan like this – and preferably on graph paper so it’s accurate! Drawing to scale (usually 1:15, so 1cm = 15cm on your floor), and NOT including the fitments you have right now, draw on the pipes and waste outlets in your bathroom, as well as fixed stuff such as the door and any windows.

Once you’ve done that, the fun part starts! You then need to draw the “new” items you want in your bathroom to the same scale, but on a separate piece of paper. Once you’ve done that, cut them out and see how they can fit into your existing bathroom… you can try out almost any layout, all on the safety of pieces of paper! As well as ensuring the layout you end up with allows sufficient “standing space”, remember that you can mess around with things like the way a door opens by re-hinging it to open the other way. But if you do things like that, make sure you don’t end up with doors opening into people using the sink or anything! You can see from Sketch 1 what areas you need to allow for “standing space” – but also note that, as in Sketches 2 and 3, the standing space for each fixture can overlap, which is handy. Also note that while a shower that’s over a bath or in a corner and so enclosed on one or two sides, you’ll only need a “standing space” of 80cm x 30cm – but if it’s enclosed on three sides you need a larger area (around 90cm x 70cm). Sketches 2 and 3 show two alternative layouts for the same bathroom space, to give you an idea of the kinds of options you’ll have. Remember you can do stuff like incorporate a shower over the bath to increase space – or perhaps move it altogether, to a different room, if that will work in your house.

 After some experimenting with the cut-outs on your floor plan sketch, you should be able to create the bathroom layout that suits you best. It might well be the same as the layout you originally had in the bathroom – not a big surprise, as you’d hope the person who fitted it originally gave careful thought to the design, too! When you’re re-designing your bathroom (or designing a new one), do think about storage space and bathroom furniture other than a basic suite. Fact is, bathrooms in many homes just don’t have enough storage space for even the basics like towels and toilet rolls, so it’s a great idea to think about this and do something about it when you’re upgrading your bathroom, ensuring you can fit what you need into the bathroom rather than taking up space elsewhere in your home. Bathshop321 has an entire range of bathroom furniture, with a lot of space-saving options as well as storage options for those of you lucky enough to have more space.
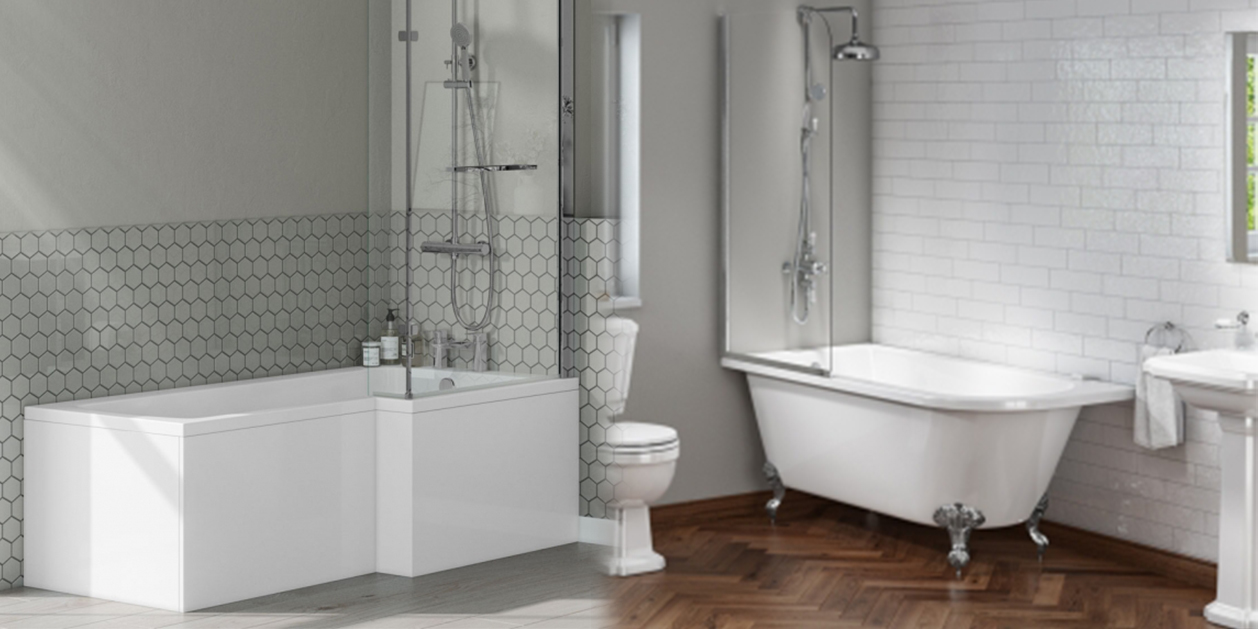
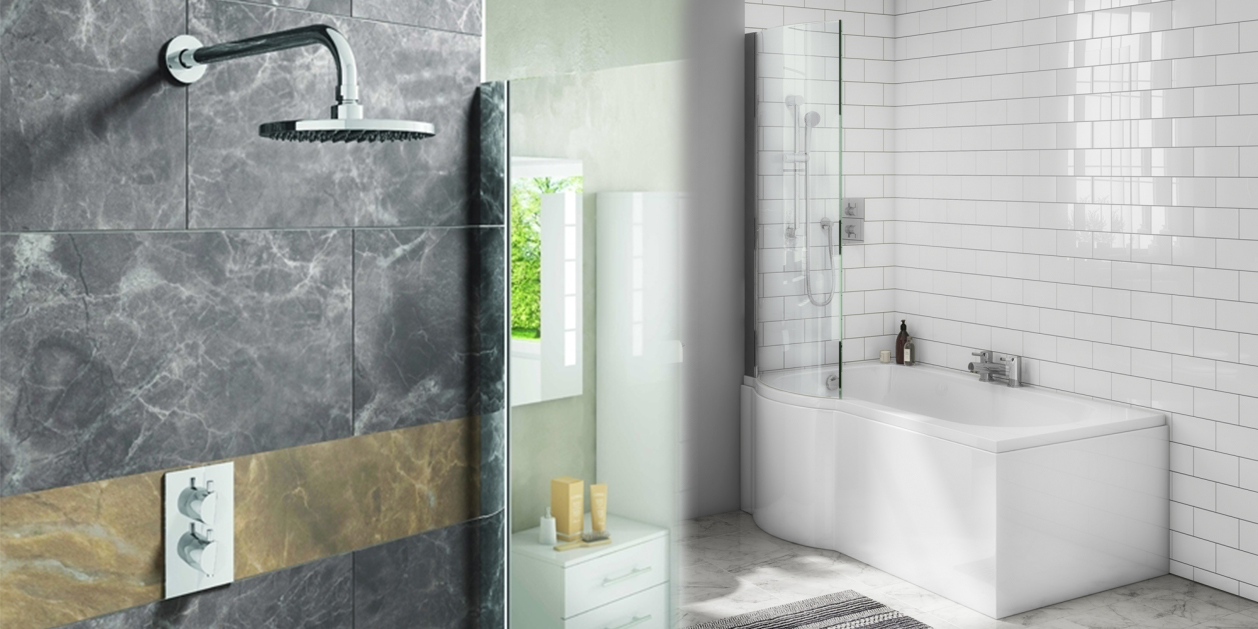
From bathroom cabinets and basin units to “basin toilet furniture runs” which really help maximize storage space in even the smallest bathrooms, we have great options for any enthusiastic DIYer who wants to take the opportunity to add storage space and style while renovating, upgrading or fitting a new bathroom space. Once you’ve planned the layout you’d like, you can get on with actually buying the suite you want, as well as choosing fitments, tiles, and other bathroom accessories as well as any specialist tools you’ll need to complete your bathroom's makeover. When you're deciding on accessories, remember they can be a cheap but effective way to personalise even the simplest plain white suite: you can, for instance, get bath side and end panels in wood effect, matching or other finishes, and can even make your own if you've a bit of DIY experience! The wide range of taps available – from slick and modern to ornate and traditional – is also a great way to make your design your own. If you're managing to fit in a separate shower cubicle, that's great – but if space is at a premium or you just prefer your shower over the bath, you have several options to consider.
You can either use bath/shower mixer taps that have a hose for a shower head, or you can fit an electric shower heater unit – with a power shower or a mixer shower as other options. Remember, too, that you always have the option of fitting a shower pump to increase water pressure and flow if you opt for a mixer or bath shower. Whatever you choose, bathshop321 has a range of fixtures and fittings to choose from, and you’re sure to find something you like. You'd be hard-pressed to find a bathroom that doesn't benefit from having an extractor fan installed, too, even if it has an opening window. Fitting one to either a window or an external wall is well worth the effort, as it'll drastically reduce damage and damp caused by condensation.
Adding new washing facilities and toilets These design guidelines also apply, of course, to any new bath or shower units you plan to fit in other areas of your home outside the main bath or shower rooms. As families grow, it’s really useful to add en-suite facilities to a bedroom, or a small toilet or shower room to other available space such as a downstairs cloakroom suite or utility room. None of this too tricky as far as plumbing in the water supply is concerned, but there are sometimes problems with accessing your house’s soil stack if you want to fit an extra loo, as the main bathroom will have been located with this in mind, while additional facilities obviously won’t have the same advantage. To overcome this difficulty, you can always invest in a macerator – a piece of equipment that pumps waste from not just loos but also showers, baths and basins through special piping to the soil stack, wherever it is in the house. It’s worth fitting one of these if you’re having trouble locating a second bathroom close enough to your main waste pipe and soil stack, as it does increase your options when you’re looking to add extra facilities to your home. You should also check out our cloakroom basins and suites for smaller and more compact fittings to help you make the best use of the space you have available for potential additions.
Rules and regulations you need to know Other than the special razor sockets permitted in bathrooms, it's illegal to have plug and socket fittings in a bathroom, and double pole isolating switches are required for electrical appliances like shower heaters and shower pumps. Also because of safety concerns, only ceiling pull-cord switches are allowed within reach of anyone using a bath, shower or sink – and wiring in general needs to conform to current building and wiring regulations. These are at present BS 7671 and Part P of the Building Regs. – but you should of course double check with your local authority's Building Control Department for up-to-date information before starting on any wiring. Also, of course, any qualified electrician can help you out with information or wiring, so you might want to budget for some help to ensure you get everything right! Whatever the “IP rating”, and whatever the electrical fitting, any and all bathroom fittings must at law be protected by what's called a 30ma RCD (residual current device). Sketch 4 gives you an idea of how other wiring regs work, too – showing you where in a bathroom you can have an electrical fitting of which type (depending on the “IP rating” of the electrical item it's for). Referring to bathroom “Zones”, they go from the wettest Zone, “O”, to the “Outside Zone”. While the sketch and further information below gives you a good sense of the requirements, do refer to IEE Wiring Regulations BS 7671 (2008) for further details, and if you have any doubts about what you’re required to do.
Zone O is actually in a bath or shower, and any electrical fitting in Zone O must therefore be low voltage (to a maximum of 12v) and rated a minimum of IP67, which means it’s protected against being immersed in up to 1 metre of water.
Zone 1 covers an area up to 2.25m from the floor, above the bath – and in it, electrical fittings must be rated a minimum of IP44. It also usually includes space under a bath, if it’s easy to get to.
Zone 2 covers 60cm outside the perimeter of the bath up to the same 2.25m from the floor as for Zone 1. An IP rating of at least IP44 is required here, too – and almost always, too, for a minimum of 60cm around any wash basin tap, too, even though that isn’t an actual requirement. Any good plumber would consider the wash basin area to be Zone 2, so you probably should too, as a good, safety conscious DIYer! Lastly, the Outside Zone is just what it sounds like – the area of the bathroom outside Zones 0, 1 and 2! Where it’s unlikely water jets will be used, no IP rating is required.  Sketch 4: Electrical Wiring Zones More generally, if you’re simply replacing already existing baths, basins, loos or showers with new ones, and leaving all the plumbing and waste pipes as before, you’re very unlikely to have to worry about Building Regulations. However, if you’re changing things about – or if you just want peace of mind! – you should contact your local Building Control officer for advice, and you must contact him or her if you’re changing or adding to existing drainage at your property. Additionally, if you’re re-routing any pipes or otherwise changing your use of water supply, you should alert your local water supplier and ensure any work you plan to carry out is allowed under current Water Byelaws.
Preparing to install your bathroom Once you’ve made up your mind how your new bathroom’s going to look, and what fixtures and fittings you need, you need to plan your installation and be prepared so it goes as smoothly as possible. In fact, preparation and pre-planning are essential to a successful DIY installation, so do read through this guide and make sure you’re covering all the bases. One really important piece of advice is to be sure you have everything you need on site, at your house, before you start work on your bathroom. It’s disruptive enough to re-do a bathroom, without realizing some crucial part of it’s missing, and so ending up without a working bathroom for a day or two longer than you’d planned, or even till the next weekend, or longer if you have to wait for something crucial to come into stock online or locally! So make a list, check everything on it is to hand, and only then get to work! Also be sure to check that the new units and anything else you need are the correct sizes, and have all their parts before you start work – again, you don’t want to have an unexpected break in work to get a faulty faucet replaced, or to re-think the dimensions of your new toilet, do you?! Also be sure to have read through all the installation instructions that come with anything you’re fitting; you may think you know what you’re doing, or can just read them when you get to it, but it’s crucial to think ahead and not be taken by surprise by anything. Remember, too, to check that you have all the tools you’ll need to get started – and if you don’t, get to the shops to make sure you do before even thinking about removing any fittings or turning off the water… wrenches, pipe-cutters and water pump pliers are not typical toolbox tools, so do check to ensure you’re not missing anything like that. Before starting the installation itself, you’ll need to complete your list of “preparation” jobs – and those will include some or all of the following:
• Check the condition and the location of the electrical wiring
• Check the waste and water supply pipe routes, and plan new routes carefully if you’re changing them at all
• Remove all the fixtures and fittings you’re replacing
• Remove any old piping you’re replacing • Be sure to fit stopcocks to pipes that need them (e.g., from the hot cylinder and the cold water storage tank)
• Remove the radiator (temporarily – you’ll need to replace it once you’ve finished!)
• Remove wallcoverings you’ll be replacing, as well as any other fitments you’ll be re-using or replacing (such as mirrors or towel rails)
Ideally, of course, you’d be able to completely gut the bathroom and have a clear, open working space. This isn’t always practical, though, especially if you have limited space and a family who need to use the rest of the house while you’re working on the installation. Do try, though, to keep the new units in a separate room while you’re demolishing and removing the old ones. And also think about installing a second bathroom (or downstairs toilet, or whatever) before you undertake revamping the main bathroom – as this has obvious advantages! Whatever your particular situation, plan ahead. Think about whether you can replace one unit at a time, working on one or two per day, and how this will work if you and your family need to use the bathroom some of the time. This involves turning on the water sometimes – after each job is completed – so can make the whole process less awkward.
Anyway, think about this and write yourself a list of tasks, in the order you want to do them – and try to stick to it once you start work! One thing that will make it almost impossible to spend less than a day or two without water is if you have lead piping, or old iron piping. If you do, you really should replace it with new copper piping, and that can take some time – mostly because you have to drain the cold water tank after turning off the water supply, and the tank has to be fully drained before you can remove the old piping. If you have to do this, you can’t usually get water anywhere at all in your house for a day or two, except from the cold tap in the kitchen (which is usually supplied direct from the rising main).
This is when you need to seriously consider having alternative accommodation arranged for a day or two – or maybe an arrangement with neighbours to use their bathroom at certain times during the day. But you shouldn’t leave old lead or iron piping in place, so do be sure to replace it, even if it’s a pain to organize!
Even if you need to replace the piping, though, if you’re lucky you won’t need to drain the tank – that is, if the cold water storage tank outlets are fitted with individual stopcocks. And of course you might well already have modern copper piping, in which case your whole job will be far easier and less time consuming, as the pipes won’t be a worry. If you do need to replace piping of any sort (including the waste pipe), it’s obviously best to get it done first – then you’ll have minimal disruption later on, when you’ll only need to turn off the water when you’re working on actually fitting a basin, bath, shower, or loo. Before doing any work, you’ll not only have to cut off the water supply and leave the taps open to drain off as much water from the system as possible, but should also cap the pipes temporarily once you’ve removed the bathroom fittings. Remember, too, to have some rags and old towels around to mop up the water that’s likely to come out of pipes even once the water supply’s been turned off and drained. You can do this with service valves and check valves, which you can incorporate into your piping system if you like – a good idea, as that makes it easier to isolate fitments if you or anyone else needs to work on them in the future, even just to change a washer or something.
(With this done, you can also restore water supply to other parts of the house – so you’d be able to use the cold tap in the kitchen, and a second toilet if you have one, even while you’re working in the bathroom.) Once all your preparation work’s completed, and the water supply’s turned off, you can remove the first item you want to replace – where it’s usually best to tackle the toilet first. Starting with the cistern, disconnect the downpipe to the pan. You should find a coupling nut directly under the bottom of the cistern allowing you to do this. Next, disconnect it at the pan end. Be careful not to damage the waste pipe as you remove the pan, and also be careful and get some help if the pan or the cistern is too heavy for you to move on your own. If your cistern is cast iron, you’ll almost certainly need help. Once the pan and cistern are removed, you must cover the end of the waste pipe immediately with polythene or cloth to stop rubbish or anything else that shouldn’t from getting into the waste pipe. See Sketch 5, which illustrates this.

Sketch 5: Cover the soil pipe when you remove the toilet pan As with the cistern, if your existing bath is made of cast iron, you’ll definitely need help to move it – probably from at least two more people! They really are very heavy, and it’s a pretty tough job to remove one from a house in one piece. The alternative is to take a sledgehammer to it, and so break it up and remove it in bits. This is a workable option, but you must be very careful if you do this, and be sure to wear protective glasses over your eyes, as metal shards will fly about even if you cover the bath with a blanket or sheeting to lessen the danger.
You should also cover the windows and anything else that might get broken or damaged by flying metal. Don’t forget to check for local scrap metal dealers and see if they’re interested in buying any cast iron fittings and lead piping you remove from your bathroom, too. This could really help you get value for money from your new suite! The wash basin will almost certainly be the easiest fixture to remove, whether supported by brackets or a pedestal. Once you’ve removed everything you need to remove – including wall coverings you’re replacing, and flooring too – you should take the time to repair and surface defects or problems you’ve uncovered, such as damaged plaster or floorboards. It’s also a good idea to clean the surfaces, and to prepare the walls and floor thoroughly for new coverings.
It’s also the best time to prepare walls for the necessary electrical wiring – making wiring conduits in the walls, for instance, and ensuring you have all the right equipment in line with the Regs. Installing your new suite Finally, you can start on the installation work! Having read through all the installation instructions and set out your plan of action, this part of the process really should be quite painless, and will see results fairly quickly, too. As illustrated in Sketch 6, you should start by connecting your new toilet pan to the soil pipe with a plastic and rubber pan trap connector. Once this is done in line with the instructions provided, you can attach the pan to the floor with screws, making sure it’s level and in the right position. Next you fit the cistern, and then connect the overflow pipe valve as well as the 15mm water supply pipe. It’s also a good idea to fit an isolating valve at this
stage, to allow easier maintenance in future, as mentioned above. 
Sketch 6: Linking the toilet pan to the soil pipe, using a plastic and rubber pan trap connector It’s usually easier to fit the combined waste outlet, overflow, and the taps before actually fixing the bath and wash basin in place, so stick with that tried and tested strategy. Using 15mm pipe for the basin supply, and 22mm piping for the bath, ensure that if you want the basin to be suitable for drinking water it’s supplied direct from the rising main – and not from the cold water storage tank. It’s also important to use the water supply from the rising main to supply any electric shower heater – using 15mm pipe. You’ll need 40mm “pushfit” pipe for wastewater from the bath, with a trap. While you’re doing all this, you also need to keep in mind the importance of using isolating and check valves while you’re installing the new pipes, ensuring it’s easy to isolate fitments in future. In particular, you’d be wise to fit 22mm valves on each bath tap supply pipe, 15mm valves on each wash basin supply pipe, and on the toilet supply pipe and one to a shower heater, if you’re fitting one. Don’t forget to make these valves easily accessible, though – and label them, too, to ensure you know what they’re for when you need to work with them in the future! Sketch 7 shows you how to go about this. Remember to use waterproof labels, so you can still see what each stopcock or valve relates to even when water’s leaked out of the system! 
Sketch 7: Label your stopcocks and valves to show which fitment it’s attached to Decorating your new bathroom Once your new suite is fitted, you can take your time finishing and decorating your bathroom, as well as fitting bathroom furniture, because once the water’s back on, things won’t be quite so urgent all the time! That said, don’t leave it too long, as you don’t want to delay using sealant for the gaps between the fitments and the walls – and this is obviously best done once any bathroom furniture and wall coverings are in place. It’s sensible to tackle furniture fitting first, and then any tiling work you have planned – whether for the floor, the walls, or both. Key points with tiling are to get a good tile cutter, to plan the placement of tiles before you start, and to make sure you’re using the right type of adhesive for the tiles you have. Waterproof adhesives and grouts are available nowadays, and are obviously the best choice for wall tiles by showers.
But you must use different adhesives for different types – and also be sure to use only floor tiles on the floor, not wall tiles. Also be aware that you can put new tiles straight on top of old tiles, if you’re re-tiling the same area – at least if the original tiles are clean and still tightly attached to the wall! For areas where you’re not using tiles, be sure to get wall coverings that cope well with dampness and condensation – such as vinyl coverings or paints made especially for bathrooms and kitchens. Similarly, vinyl flooring or floor tiles are best for a bathroom floor. This is also the time to install an extractor fan if your bathroom doesn’t already have one. Don’t leave the decorating to the last minute, or approach it as an afterthought. Giving some thought to it before you start – as soon as you decide on your suite and fittings – is the best bet, especially if you have a coloured suite so will need to think about what colours work best with it. Remember that an essential part of finishing up your installation is to use sealant between the edges of the bath and basin and adjacent walls. This prevents water damage by stopping water from dripping down behind and under fixtures, which can cause big problems if left unchecked. A silicone sealant is your best option – and you can get them in colours to blend in with your décor now, too. Try to ensure the sealant forms into a concave shape when you apply it, too, as this will stop water collecting in pools in the sealant itself. Once your bathroom’s complete, it’s easy to think you’ve done all you need. But do be careful, and take care of your new suite – being sure to read and take note of care instructions, especially where they warn you, for instance, against using abrasive cleaners or suggest a particular type of cleaner for the surfaces of your units.
You might also think about installing a water softener if you live in a hard water area, as this too will help lengthen the life of your fixtures by combating problems such as limescale, and meaning you’ll need to use less bath foam and surface cleaners to get the best from your bathroom!
Powered by Mirasvit Magento 2 Extensions
Recent Posts
-
 Shower Bath Setups: Tips for Optimising Your Morning Routine
-
 Space-Saving Benefits of a Shower Bath in Urban Homes
-
 Beyond Basics: Advanced Features in Modern Shower Baths
-
 What Are The Main Benefits Of Choosing A P Shape Bath
-
 Celebrating Classic Features: The Timeless Appeal of Traditional Bathroom Suites