To provide you with the best experience, we use cookies to personalise content, bring you relevant ads and analyse data. For further info, see our privacy policy.
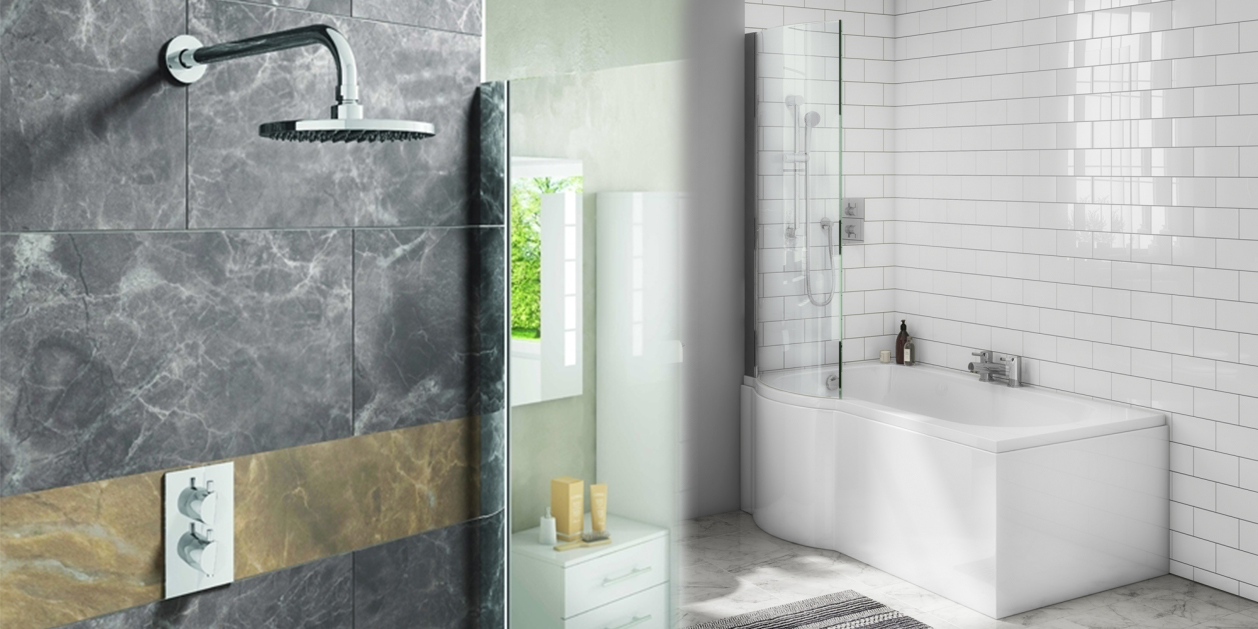
How To Tile Around Your Bath
How To Tile Around Your Bath

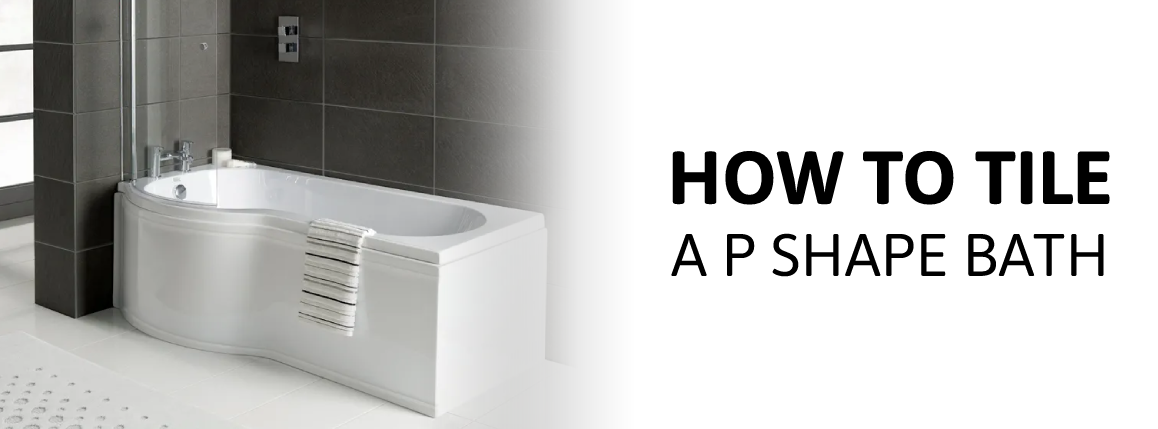
Tiling is the most common choice for walls in new and refurbished baths due to the fact that it is completely waterproof and exceptionally stain-resistant, as well as being easy to clean and available in a wide variety of colours, sizes, and patterns. It is possible for the majority of people to tile their bath and shower surroundings if they have access to appropriate tools and materials, and they have the patience to lay out the tiles properly. Of course, a traditional straight bath is the easiest, but while P-shaped baths are harder, they are far from impossible. You just need to think a little more carefully about some of the angles. Here, we look at how you can tile your bath.
Draw the layout lines
Start by measuring the height of the back wall, from the lip of the bath to the top of the space that will be tiled, before you begin tiling the area. Make a mark in the middle of the dimension after dividing it in half.
To avoid placing tiny bits of tile at the top and bottom of the wall, which is complicated and looks messy, check to see if you need to alter this mark. Calculate how many tiles it will take to get from the centre mark to the bathtub. . You may need to modify the mark downward by the height of a partial tile if you end up with less than half a tile at the tub. This will result in a complete tile at the bottom and a larger cut tile at the top. Draw a horizontal line across the wall at this point, using a spirit level to ensure accuracy.
The first step is to start at the intersection of the two layout lines and use the smooth edge of a trowel to distribute a thick layer of tile mastic onto one quadrant of the wall. After that, take a horizontal measurement of the width of the rear wall. This dimension should be divided in half, and then a plumb line should be drawn down the middle of each wall. It may be necessary to move the line slightly to the right or left if this results in tile shards on both sides.
Apply Mastic to the tiles using a Trowel
The first step is to start at the intersection of the two layout lines and use the smooth edge of a trowel to distribute a thick layer of tile mastic onto one quadrant of the wall.
Tile mastic has a working period of around 20 minutes, so apply it to a surface no more than 2 or 3 square feet in diameter.
Rake out the mastic using the notched edge of the trowel, creating a series of deep ridges in the process.
Begin the process of putting in the tile.
Place the initial tile at the intersection of the two layout lines, at the centre of the layout. Make sure the tile has tightly adhered to the wall and that its edges are flush with both the horizontal and vertical lines before pressing it into place.
Work your way out toward the end wall and down to the tub in a stepped pattern, continuing to put tiles in both directions along both lines.
Some tiles have little nubs on the edges to ensure that they are equally distributed and the proper width for grouting is achieved. If your tiles are not self-spacing, you will need to use plastic spacers to keep the joints uniform.
Cut the tile to the appropriate size.
Hold a complete tile in place and indicate where it overlaps the last full tile that is already on the wall where the tiles need to be cut to fit against a corner or ceiling.
Installing the tile to be trimmed on the tile cutter such that the mark lines up with the cutting wheel is simple and straightforward. Slide the cutter's adjustable fence against the edge of the tile so that you may cut the remaining tiles without having to mark each one individually with a pencil. Pulling the cutting wheel across the face of the tile with a slight downward pressure will score the glaze on the tile. It is not permitted to score the tile more than once. Pressing down on the handle will cause the tile to split in half.
Tiles should be laid with their cut edges against a corner or the ceiling.
Drill for the supply pipe
If there are any protruding fittings, such as tub and shower supply pipes or mixer valves, you will need to use tile nippers to carefully cut notches in some tiles so that they may be fitted around the plumbing. Alternatively, if the pipe or valve body is contained within a single tile, a hole can be drilled using a diamond-grit hole saw.
Powered by Mirasvit Magento 2 Extensions
Recent Posts
-
 Shower Bath Setups: Tips for Optimising Your Morning Routine
-
 Space-Saving Benefits of a Shower Bath in Urban Homes
-
 Beyond Basics: Advanced Features in Modern Shower Baths
-
 What Are The Main Benefits Of Choosing A P Shape Bath
-
 Celebrating Classic Features: The Timeless Appeal of Traditional Bathroom Suites