To provide you with the best experience, we use cookies to personalise content, bring you relevant ads and analyse data. For further info, see our privacy policy.
Resealing Your Bathtub
Resealing Your Bathtub - Repairs
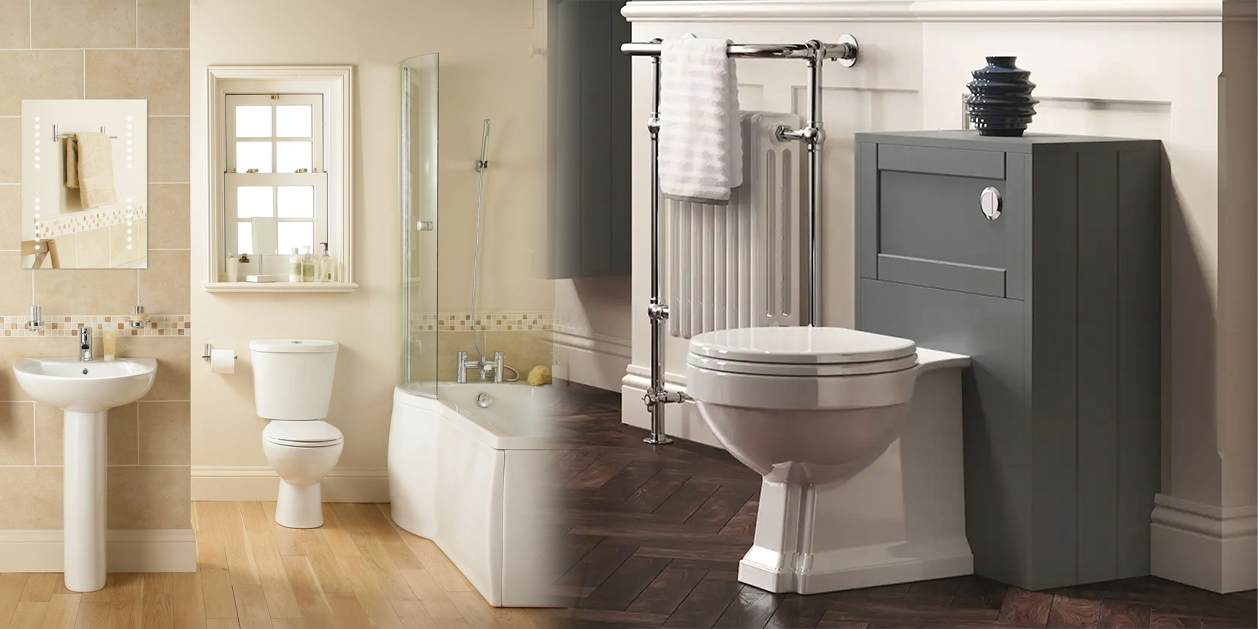
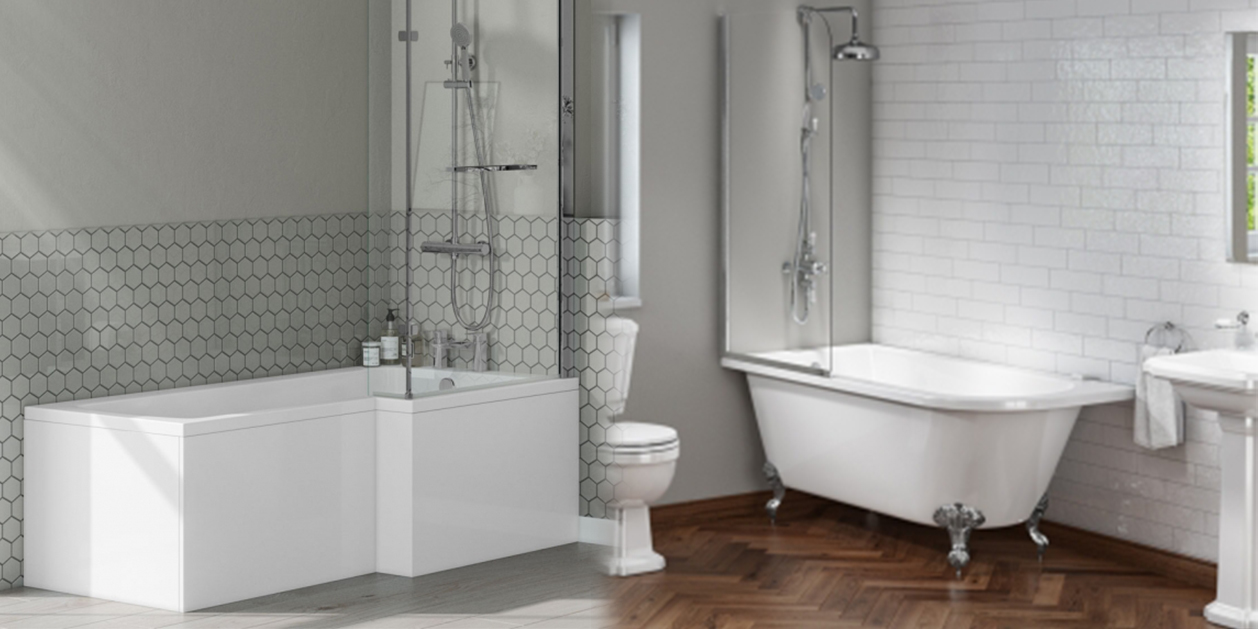
If there’s one thing the Bathshop321 Handyman knows, it’s that water erodes everything given enough time. Even silicone sealant, a substance created to provide a water resistant solution to gaps joints between baths, showers, sinks and walls (amongst other household applications, but the Bathshop321 handyman won’t hear it).
If there’s one thing the Bathshop321 Handyman knows, it’s that water erodes everything given enough time. Even silicone sealant, a substance created to provide a water resistant solution to gaps joints between baths, showers, sinks and walls (amongst other household applications, but the Bathshop321 handyman won’t hear it).
After a good few years, you may begin to notice that the clean, clear sealant you once applied to the side of your bathtub (and shower bath in particular) has started to become discoloured, develop mould or fall away from the wall completely. Well, it’s time to grab the toolkit once again, as the Bathshop321 Handyman is here to help you replace and reseal!
Removing Old Sealant
The Bathshop321 Handyman doesn’t like to work backward, so step 1: Plug your drain. Lots of excess sealant is going to fall into your bath during this job, so best to avoid any unwanted blockages. Now we’re ready to get started.
Take a dry cloth and dry all sides of your bath, and areas around the sealant. Then using a Stanley knife, (or box cutter for our American friends) make an incision where you would like to begin removing the sealant and another where you would like to stop. This method is useful if you only have a small affected area and simple wish to replace that section.
Take a flat head ‘negative’ screwdriver and gently push into the hole until the head is behind the sealant, prize the end out and pull the sealant out, peeling as much off each time as possible (stopping once you reach the next incision). Repeat this method until all of the affected sealant is removed, using your cloth again to dry out any damp or wet areas in the exposed joint.
Resealing
Using waterproof silicone sealant and a caulking gun, apply a small yet sufficient amount of sealant all the way along the gap, be sure to get the end of the nozzle into the gap to fill in the empty space beneath the tile fully.
After applying, you may notice the sealant looks uneven and messy; simply use a paper towel or rubber gloves to gently run the end of your finger along the gap, nicely shaping the sealant and effectively filling the gap. Leave to set and stand back to admire your handiwork.
Another job well done with a helping Handyman, from Bathshop321; check back soon for more guides and tips.
Powered by Mirasvit Magento 2 Extensions
Recent Posts
-
 Shower Bath Setups: Tips for Optimising Your Morning Routine
-
 Space-Saving Benefits of a Shower Bath in Urban Homes
-
 Beyond Basics: Advanced Features in Modern Shower Baths
-
 What Are The Main Benefits Of Choosing A P Shape Bath
-
 Celebrating Classic Features: The Timeless Appeal of Traditional Bathroom Suites