To provide you with the best experience, we use cookies to personalise content, bring you relevant ads and analyse data. For further info, see our privacy policy.
Resurfacing your Bathtub
Resurfacing your Bathtub - Repairs
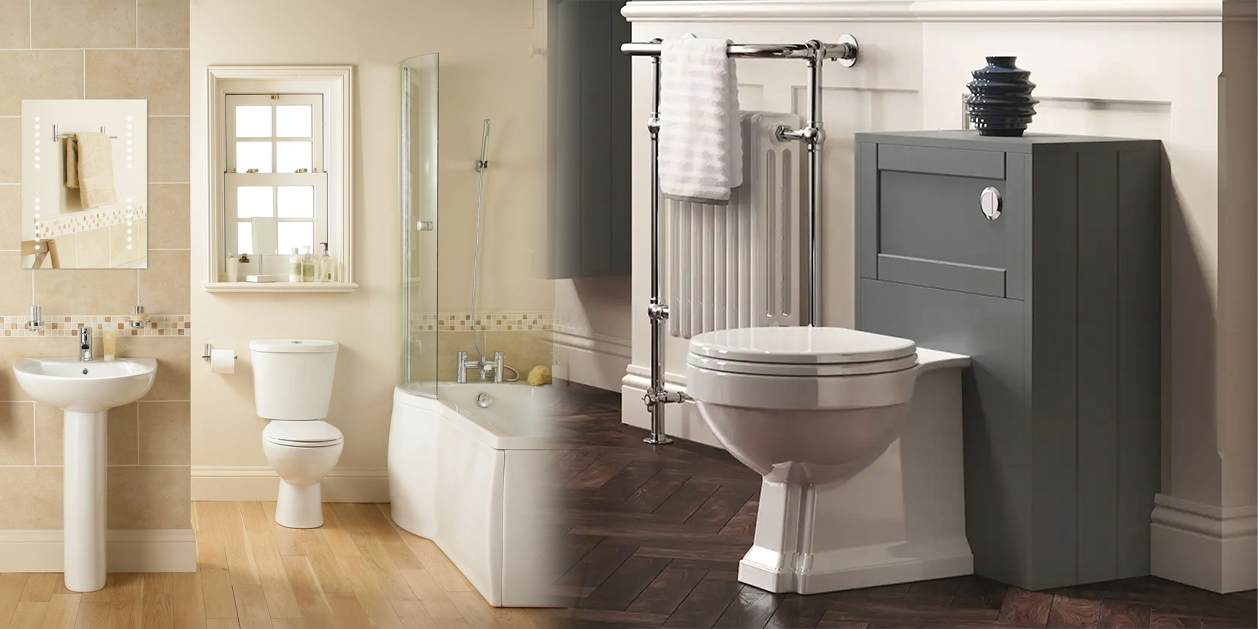
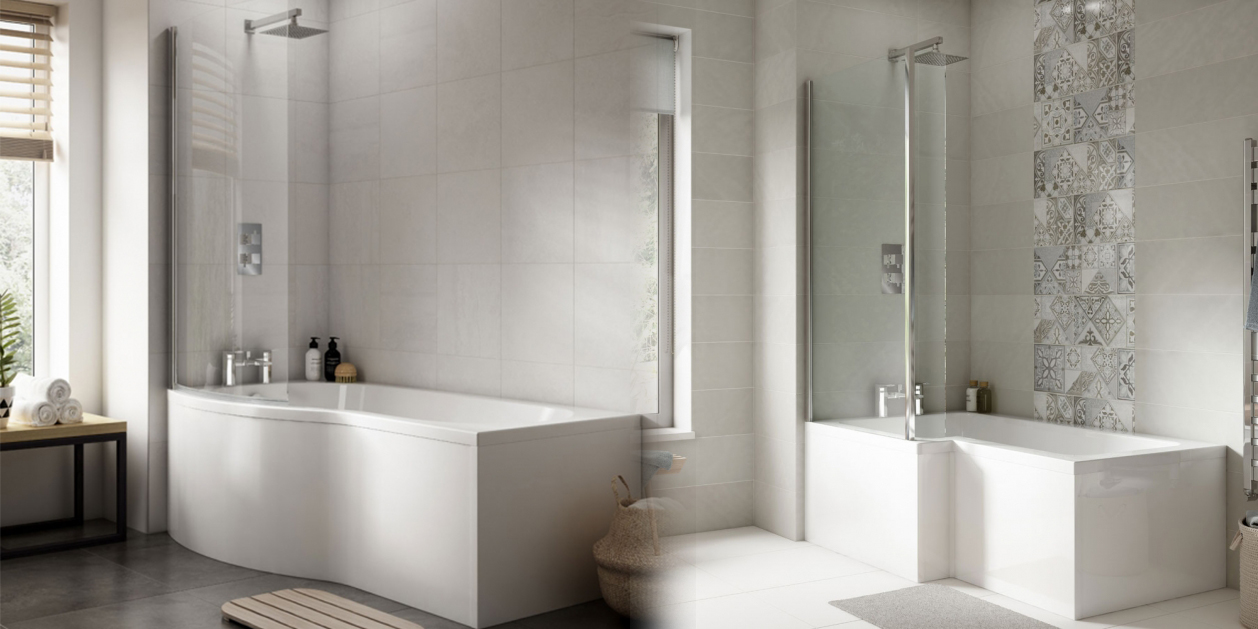
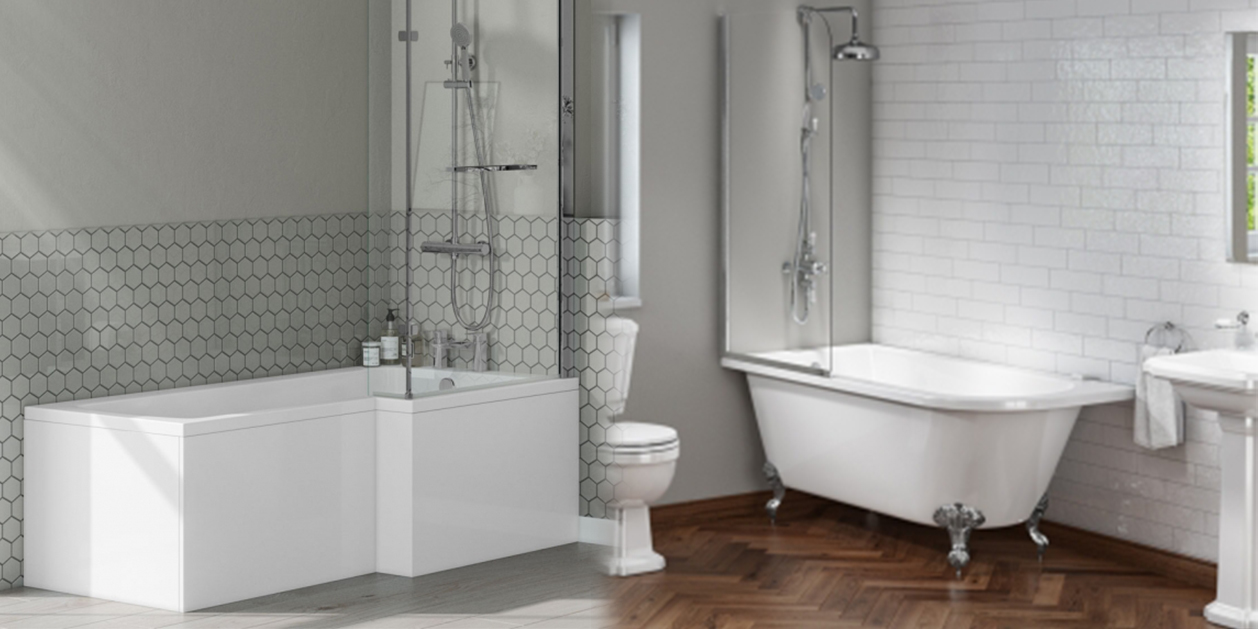
Taking a long dip in the bath allows you to relax and unwind after a hard day’s work or a busy day with the kids; it provides a perfect place to soak with a good book or your favourite radio station, as well as providing you with all the physical benefits of heated water on tense or stressed muscles and joints. For those who have had their bathtub many years, or have purchased a lower-quality tub, the finish can often become faded, chipped or starts to peel. If purchasing a higher quality tub is out of the question (but for the affordable prices at Bathshop321, it’s had to find an excuse not to!) then it may be time to resurface your tub.

Taking a long dip in the bath allows you to relax and unwind after a hard day’s work or a busy day with the kids; it provides a perfect place to soak with a good book or your favourite radio station, as well as providing you with all the physical benefits of heated water on tense or stressed muscles and joints. For those who have had their bathtub many years, or have purchased a lower-quality tub, the finish can often become faded, chipped or starts to peel. If purchasing a higher quality tub is out of the question (but for the affordable prices at Bathshop321, it’s had to find an excuse not to!) then it may be time to resurface your tub.
The following methods to not apply to acrylic bathtubs.
Preparing the Tub
It’s important to get the bath ready for resurfacing before you bust out the paintbrush and roller, so to start, cover the plughole, rim and overflow with masking tape. This will stop any of the resurfacing paint or stripping agent damaging or compromising the shiny surface.
Next you should strip the bathtub of its old surface; this step requires use of chemical stripper, so if you don’t feel up to the task a professional will be knowledgeable enough to apply the formula and strip the surface for you.
Remove the ‘caulk’ or sealant from around the tub by making incisions with a Stanley knife and peeling the sealant out (see our post on resealing your tub here). Ensure the room is well-ventilated, if you do not have access to a large, open window then you must run an exhaust to the outside of the house to help extract fumes from the room.
Then (wearing safety gloves, an odour mask and safety goggles) begin applying the stripping agent to the surface of the tub. Once the formula has effectively softened the bathtub’s surface, you can begin scraping away the outer coating with standard scrapers which you would commonly use for wallpaper removal. Apply and leave more stripping formula if one area won’t scrape off, then return to scrape away any remaining coating. Once cleared, and all debris has been removed, sand the tub to remove any rough areas until completely smooth.
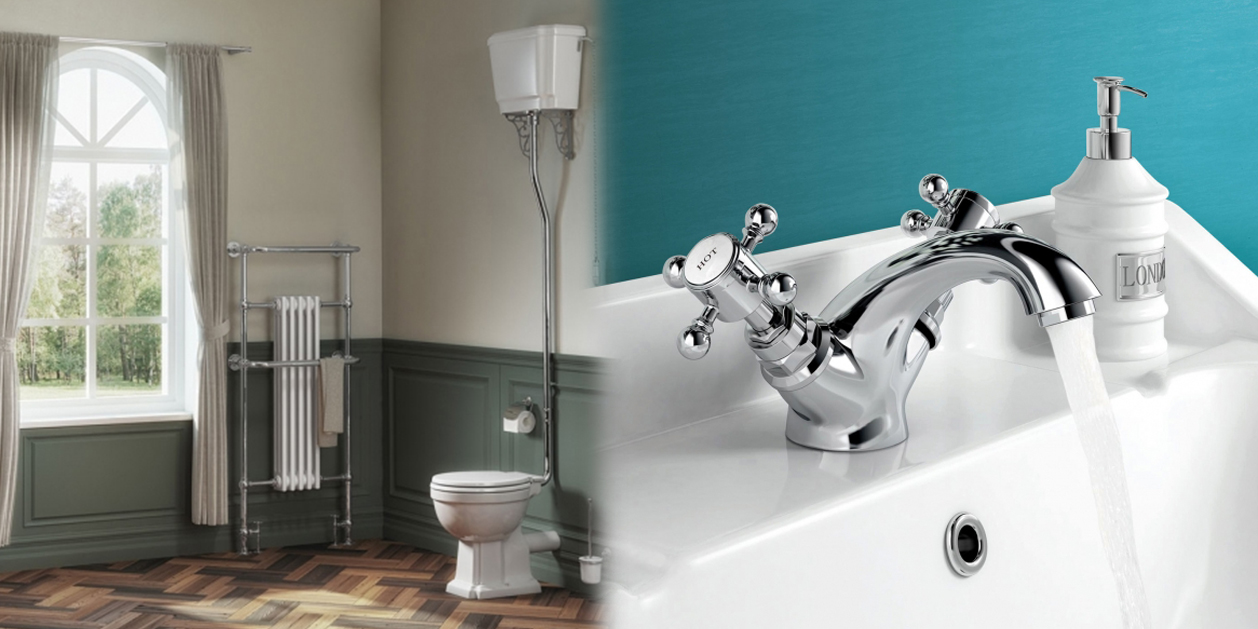
Use polythene bags and masking tape to wrap the taps up tight; spilling any of the formula onto the tap will likely have an irreversible damaging effect on the taps. For a perfect finished product, be sure not to have the tape stuck to the surface of the tub, only the tap.
Coating the Tub
Next you will likely have to mix your coating solution before it is ready to be applied to your tub. Take your ‘hardening’ solution and mix it with your coating, stirring well with a paint stirrer. Let it stand for around five minutes and then add to a paint tray as you would with regular paint, saving some in the can for later.
Using a paintbrush, apply the solution to all the areas that would be hard to reach with a roller; around taps, the overflow, and plughole and around the wall areas. Now using firm even strokes, use a paint roller to apply an evenly-spread first coat, rolling away any paint runs with the roller. Allow the tub to dry for at least an hour, before repeating the painting process with a new roller head.
Allow the tub to dry for 48 hours before running a bath and enjoying the fruits of your labour. Another bathroom blunder fixed, with the help of the Bathshop321 Handyman!
Powered by Mirasvit Magento 2 Extensions
Recent Posts
-
 Shower Bath Setups: Tips for Optimising Your Morning Routine
-
 Space-Saving Benefits of a Shower Bath in Urban Homes
-
 Beyond Basics: Advanced Features in Modern Shower Baths
-
 What Are The Main Benefits Of Choosing A P Shape Bath
-
 Celebrating Classic Features: The Timeless Appeal of Traditional Bathroom Suites